Create a Drupal Pricing Page with Glazed Builder
The pricing page is one of the key pages in a website, therefore it is important to have a clear and professional design that communicates the product benefits and pricing tiers your business offers. In today’s article we are going to learn how to recreate the new Sooperthemes pricing page. The Sooperthemes pricing page has a clean design style that mainly consists of rows, columns and text. Throughout this article we are going to work with the following elements:
- Rows
- Columns
- Text
- Buttons

We will start by determining our pricing packages: Basic, Professional and Enterprise, as shown in the example above.
Start with an empty page or create a new section on an already existing page and follow along with the process. Create a section by clicking the + icon either in the middle of the page to create an empty section.
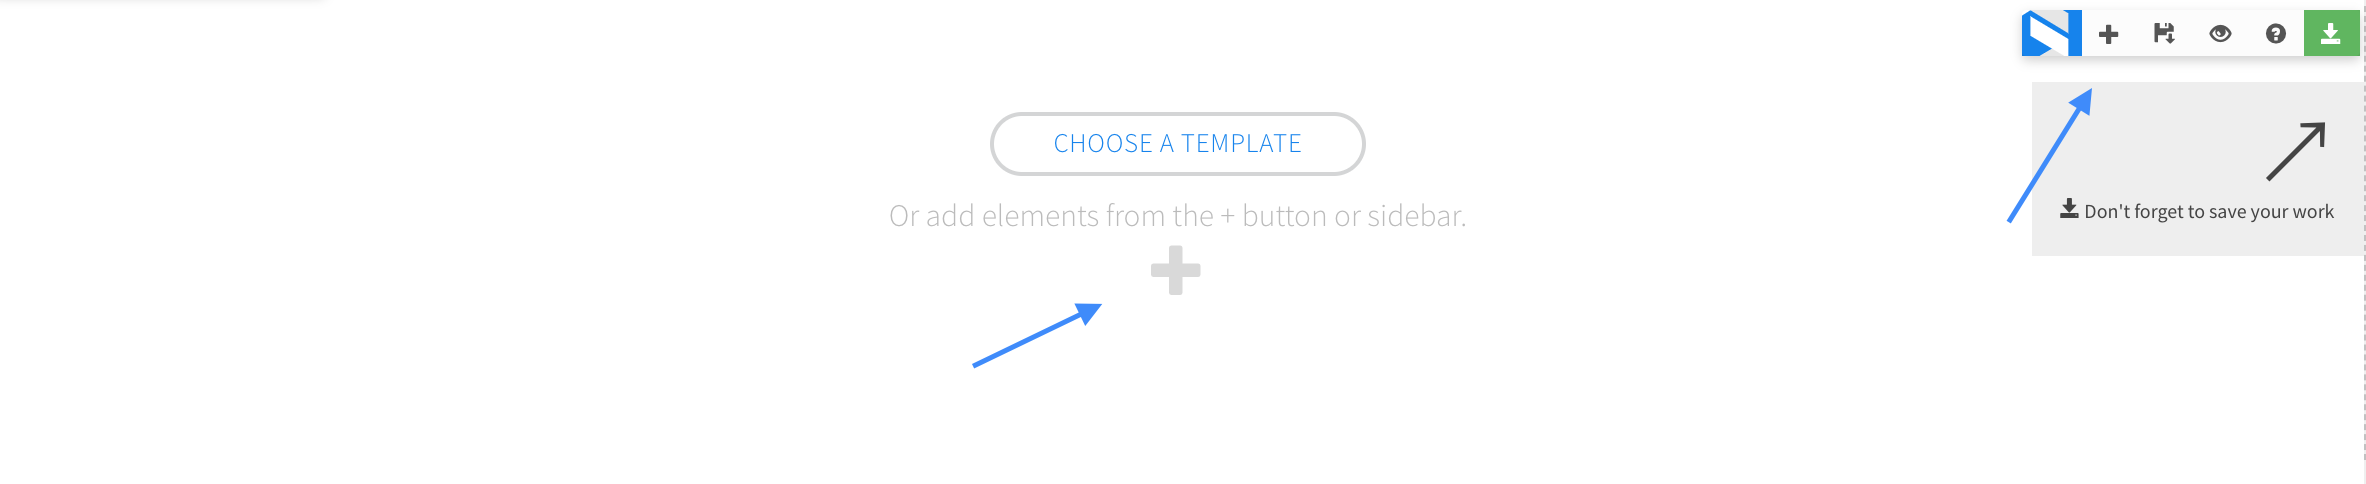
Once we created an empty section, click the + icon again and add a row. Specify how many columns we want to in our row by going to the row layout menu and click the grid icon. Select the layout that best suits your needs. In today's article we are going to work only with 4 columns.
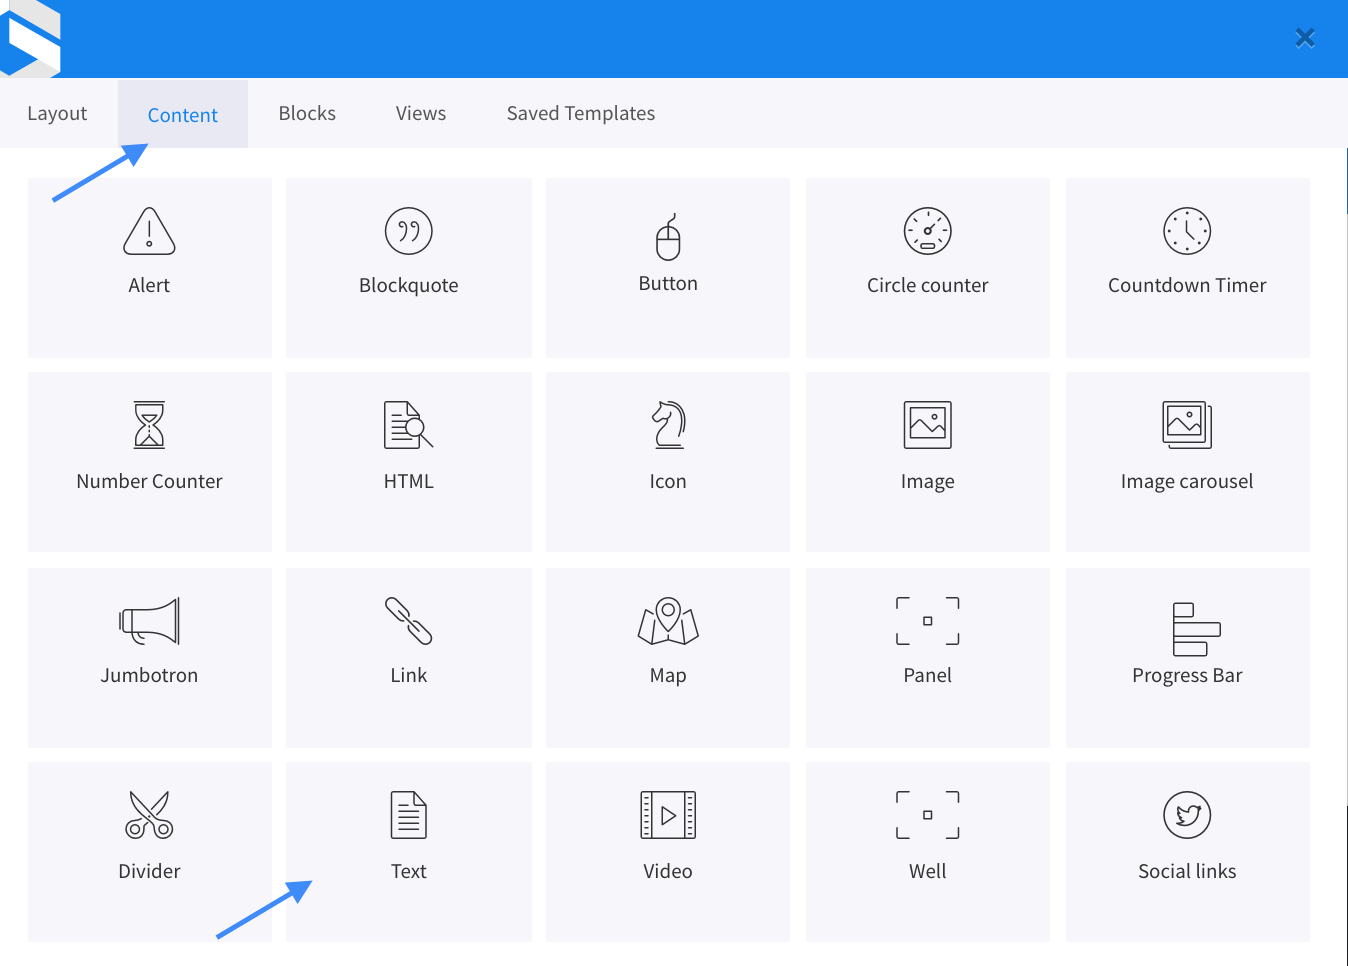
Add the text of our package names, price per subscription and additional details. Click the + icon —> Content tab (on top) —> Text element.
A text tab filled in with default content has been automatically generated by the builder. You can leave the generated text as it is and click Save changes. Later we will edit the paragraph using inline editing.
Copy the text to the next 2 columns by clicking the copy icon (see GIF below). After we clone our text box, simply drag and drop the text to the next column. You can leave the default text as it is and modify it after we fill in all 3 columns with default text.
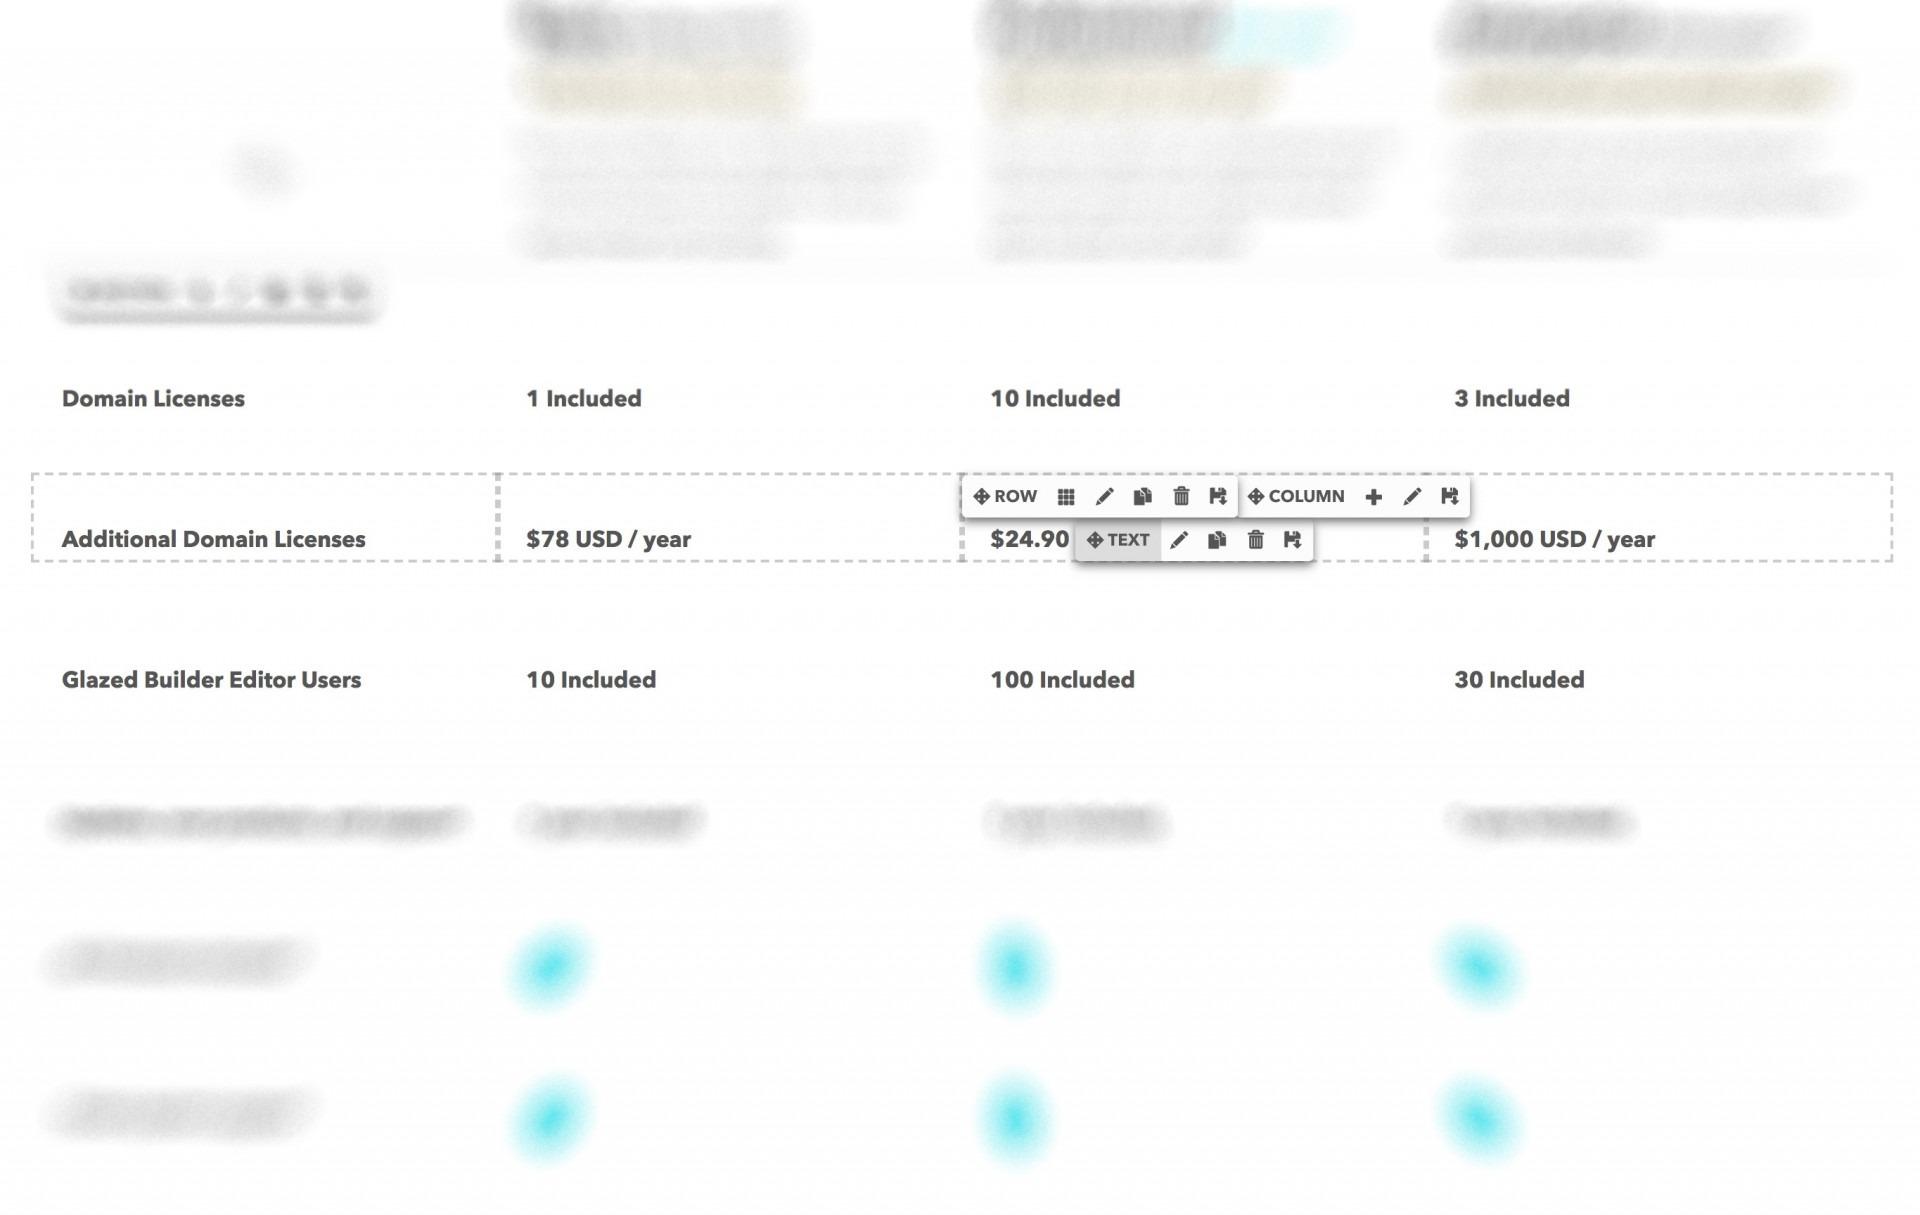
Now add text for our subscription packages, price per subscription and additional details if needed. Simply click in the column where you want to add the text and start typing and modify the text until you are satisfied with how it looks:
Highlight the price by clicking the edit button on the text and and choose the highlighted style. (see GIF above)
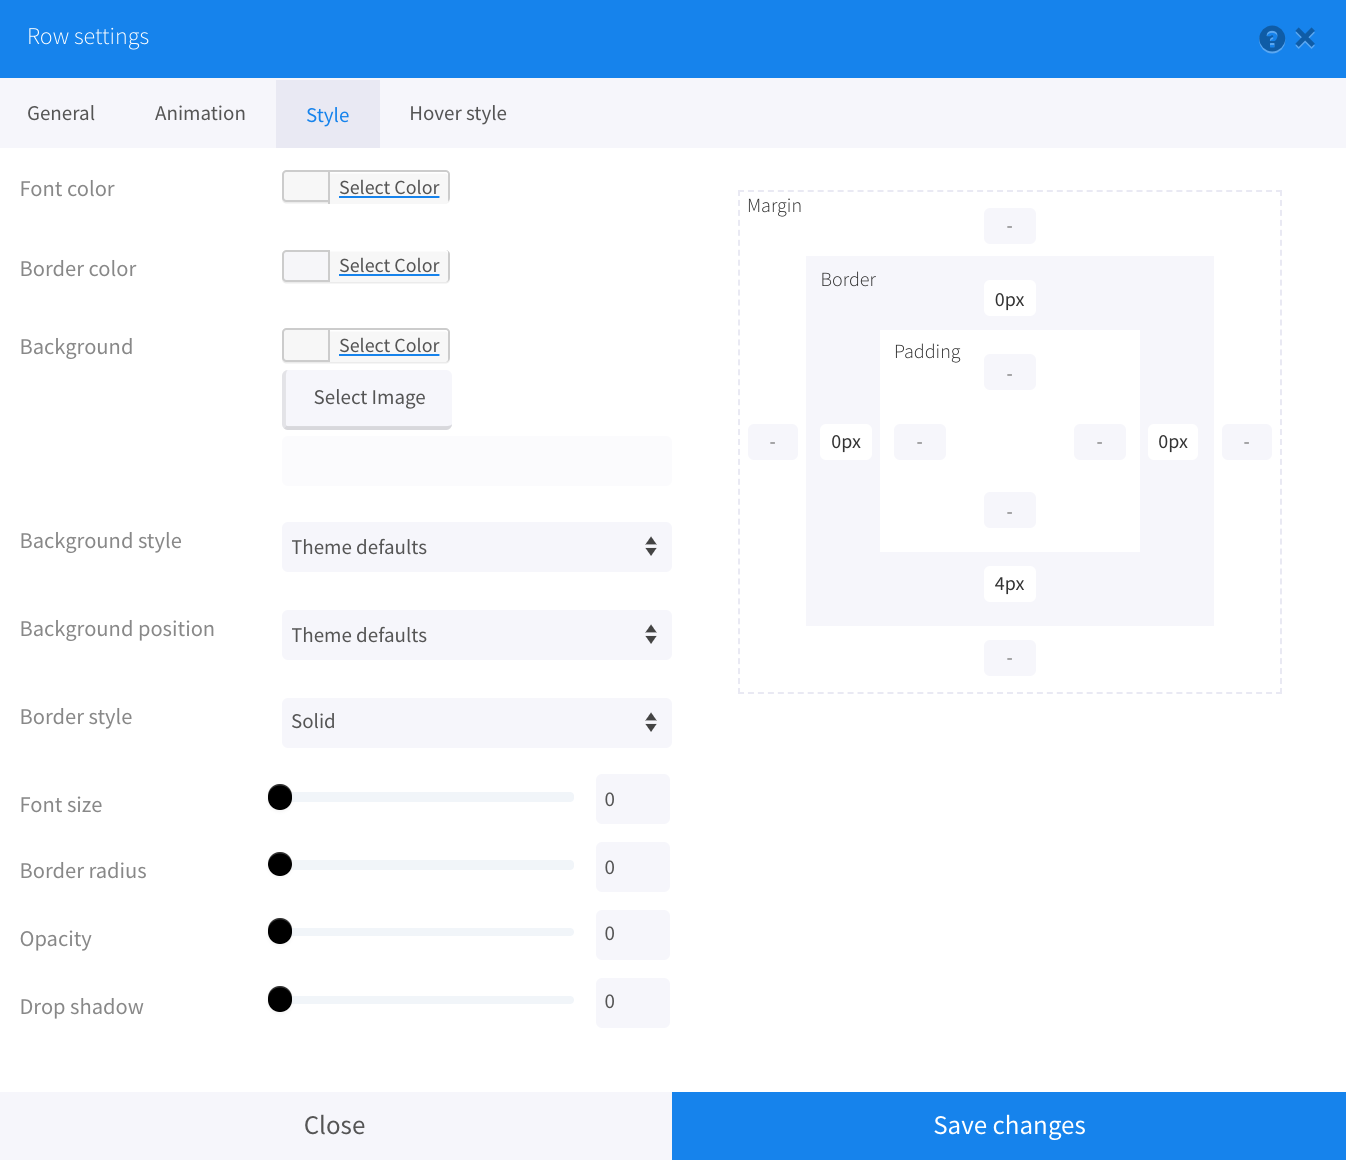
Moving on we are going to add the gray bar that separates the subscription packages from the feature list. Go to the row settings by clicking the edit row button that appears when you hover over it. Here, in the style tab we can specify the border color. You can either copy/paste the code #f6f6f9 to get the gray color or select a color of your choice from the color pallet. Border to appear on top of our row we need to specify a border style. Choose Solid style or experiment with other options and see which option best matches your website. To leave the bottom line of the border active and remove the side and top borders we also need to specify the padding values, as seen in the screenshot below:
The final results should look like this:

After we are happy with how our subscription package looks, now we can create the feature list and specify the features of our price packages. Each feature will be located in a separate row: if you have 10 features to add then you will create 10 separate rows with 4 columns each. An easy and fast way to create multiple number of rows is to use the clone current content feature that we have used in the beginning of this article. After creating one row and filling it in with text, click clone current content and generate the amount of rows you need:

We can fill in the rows with product/service features by using inline editing.
In order to create the round checkmark icons copy/paste the checkmark of our choice (or ✓) and then use the text element to create the round shape around it:
- Click the + icon inside the column where you want to add the checkmark and add a text element
- Add the checkmark
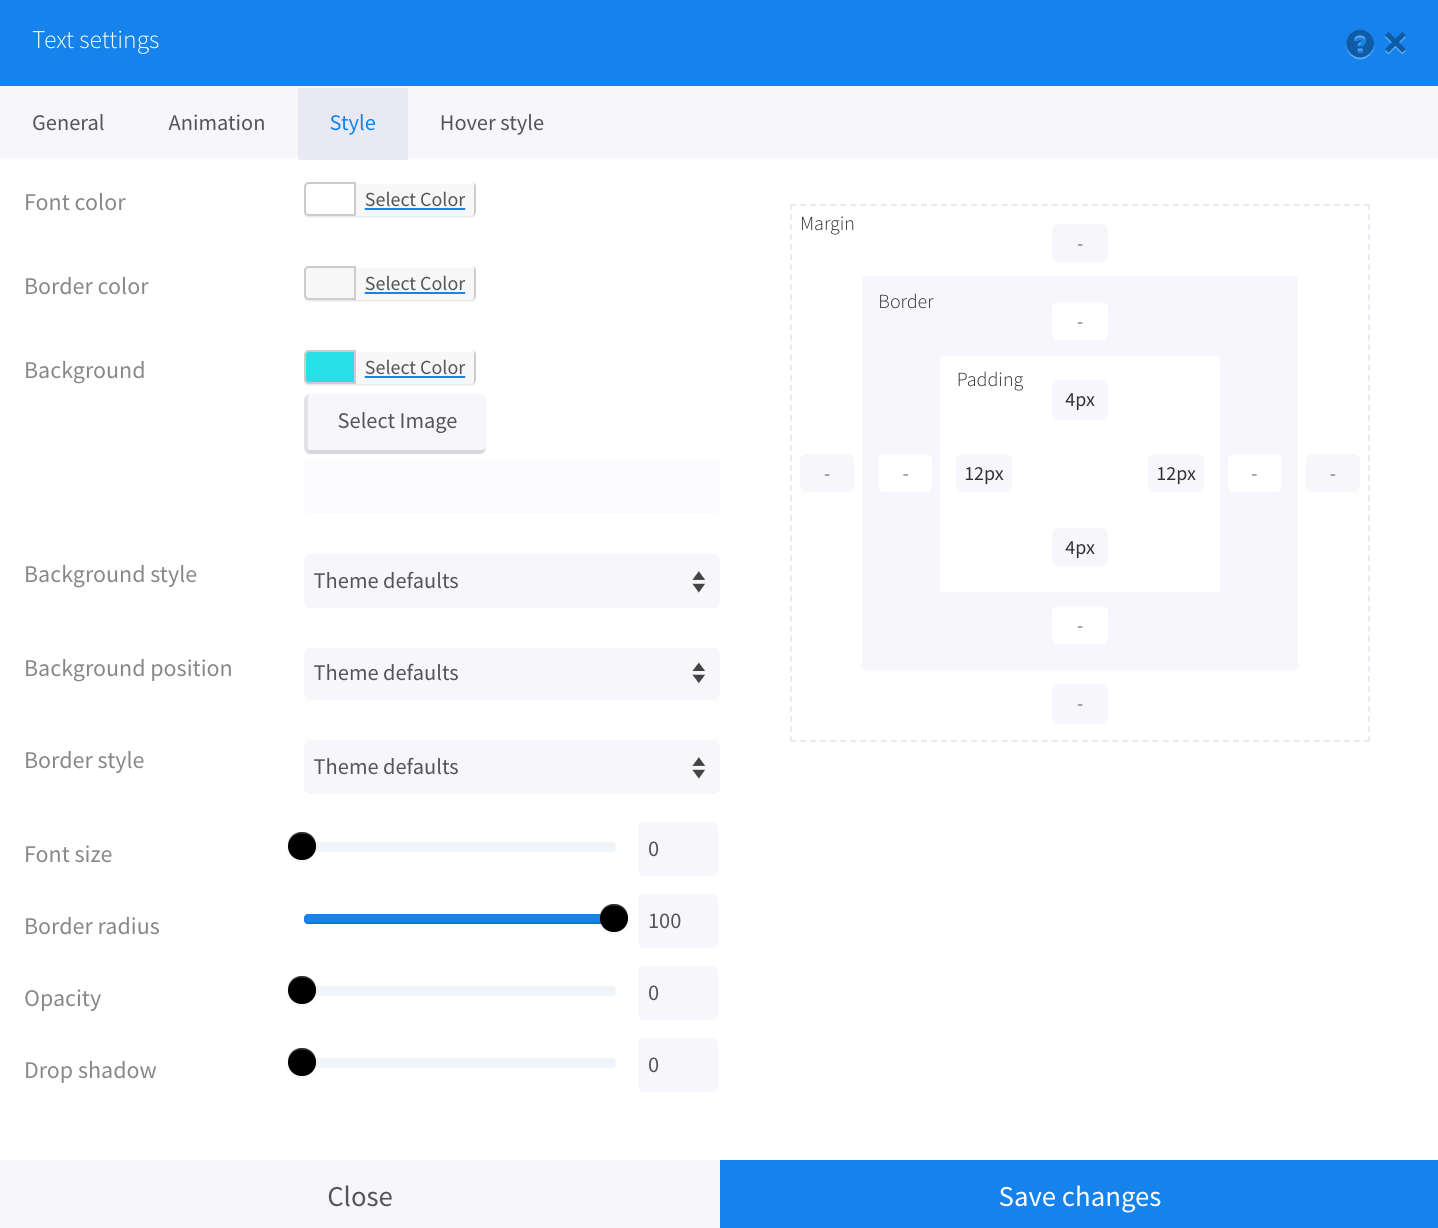
- Go to the Style tab and set up a Background color of your choice (or used code #07e0ea for light blue)
- Set the font color to White (#ffffff)
- Set the border radius to 100
- Set the padding values as seen in the screenshot below (4px on top/bottom and 12px on the sides)
- In the General tab add "Pull left" to the Utility classes
- Click Save and copy/paste the checkmarks into the columns of your choice
Last but not least, we are going to add call to action buttons. You can learn how to create custom, personalized call to action buttons in this article.
Before creating the actual call to action button, add a 4 column row below the list of features and advantages.
- Click the + icon inside the column you want to add the call to action button —> go to Content —> click Button.
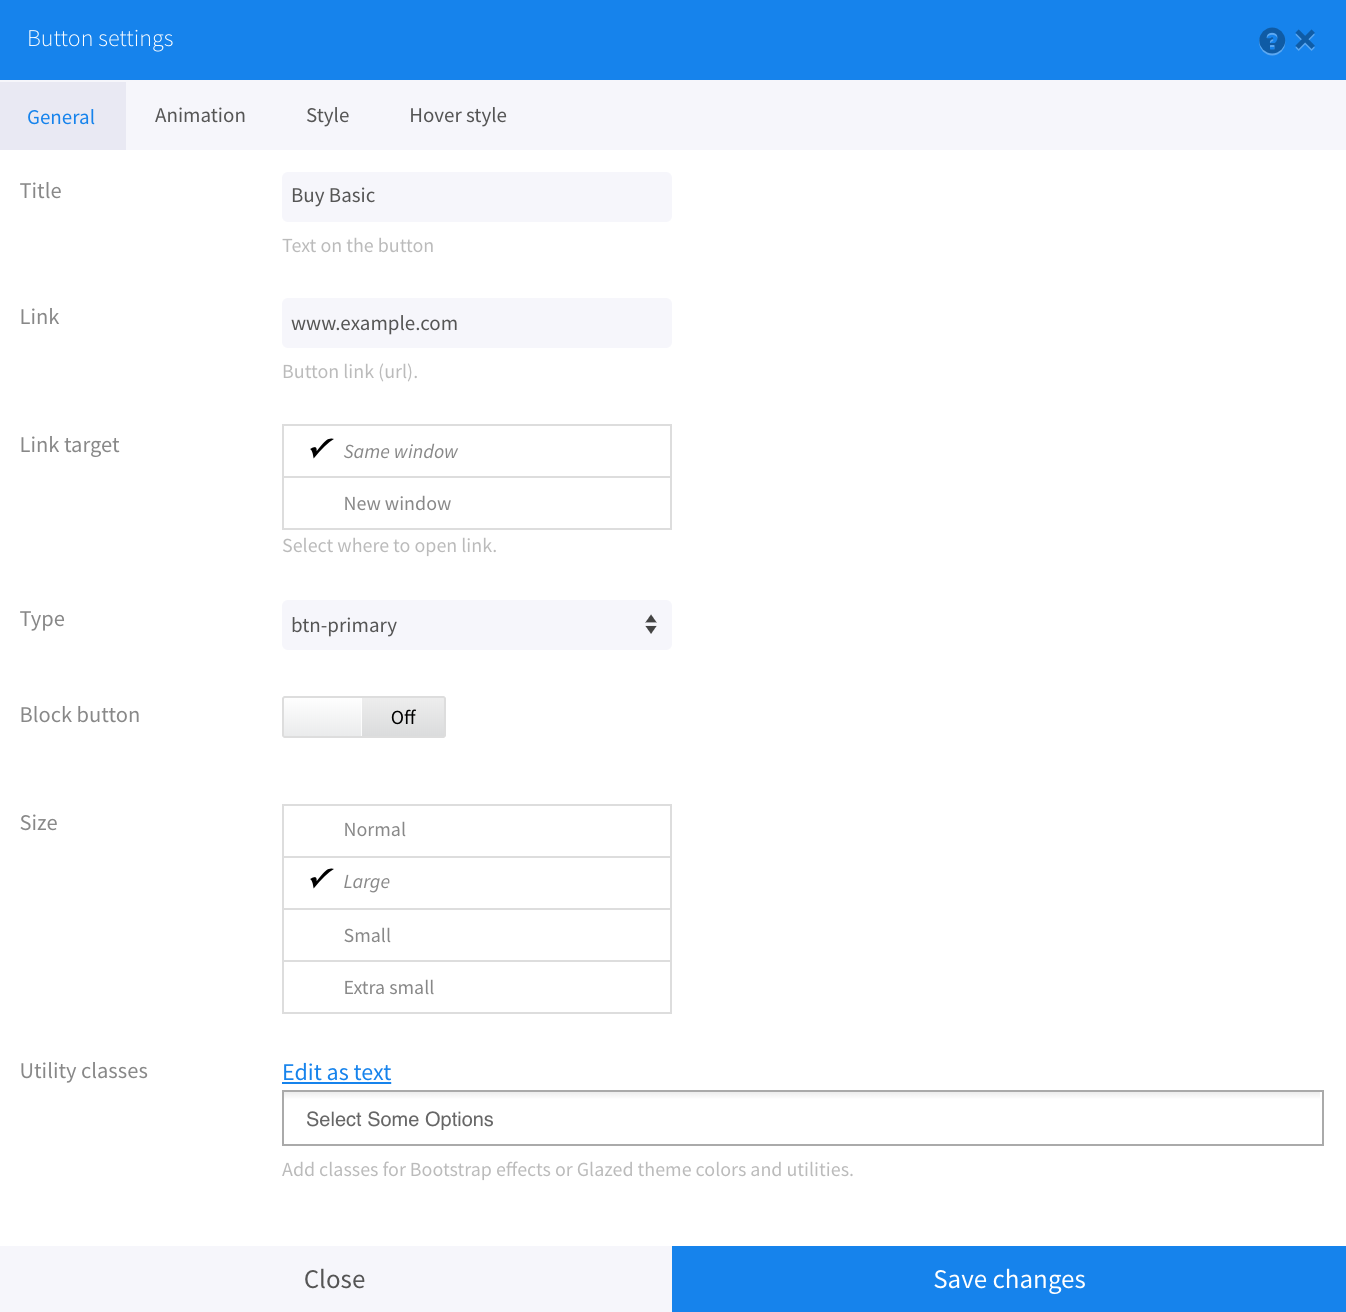
- Fill in the general tab with the content of your choice. For this tutorial we are going to fill in the following:
Title: Start with Basic
Link: example
Link target: same window
Type: btn-primary
Leave the block button on OFF
Size: Large - Feel free to add animation in the next tab if you feel like it will add value to your page, however for this tutorial we are going to skip directly to the Style Tab and change the background color to orange (you can pick a color that best suits your overall website design).
- Click save changes.
- Once you set up one call to action button, you can repeat the clone current content option we used throughout the article, and simply modify the text of the button for each individual subscription (Basic Subscription, Professional Subscription, Enterprise Subscription etc.)
Voila! You are ready to attract new customers with a new, clean professional looking Drupal Pricing Page! Feel free to experiment and twist the settings we used in this article until you are satisfied with the outcome. Came up with an awesome Drupal pricing page? Share you results with us on Social Media channels, we're more than curious to see what you came up with!